Bulkheads and deck
It has crossed my feeble understanding of how structures work that I shall need something to which to attach the outrigger. After gazing dolefully at it for a while I arrived at the conclusion that my flimsy 4mm bulkhead made of sub-standard plywood is not going to be especially good at conducting strains from the outrigger into the main hull. So I sat down at the drawing board and tried to work out what to do, and the simplest solution appears to be Thick Bulkheads. The bulkheads are surprisingly small when drawn full size, so they can be 12mm five-plies and still not impart excessive weight.

The boys at the timber yard, all of whom enter into any boatbuilding project with unfeigned enthusiasm, had pointed me at some test sheets, randomly selected during a production run, which have a foot cut off two edges to check that the inner laminates are all sound. There isn't much you can do with a seven-by-three sheet so they sell them off for $26, always to boat-building amateurs because everyone else is spending someone else's money and doesn't care what stuff costs.
I used a handsaw, since I've found I can't rely on circular saws and straightedges. And I plane afterwards to a sharp pencil line with a hand spokeshave, since it's more accurate than relying on an actual plane. Which I use with the confidence of knowing that ultimately the epoxy will fill any gaps, and further knowing that every joint will be reinforced with glass fibre, and yet further knowing that out at sea I care more about strength than appearance. I cut four bulkheads; two are for the middle of the boat and will meet and be bolted together to turn it into a long canoe. The two that seal the end decks stand proud of the putative deck and are to have short, stout solid hardwood beams attached to them. To these short beams I propose to attach the outrigger arms. I'm not yet sure how to make the attachment: over in Stephens Bay sits a waka, or outrigger canoe, for four people and I think it's the one I sometimes see a young family paddling of a Sunday morning. Here the arms are attached by nothing more than luggage straps. However a waka paddled on still water with two small children aboard isn't going to be subject to the stresses of a large sail in a lively sea.
In the last few days we had some warmer weather so I started gluing the deck together. I delayed while it was cold and rainy: I want my epoxy to go onto a dry surface, and I want it to harden in the sunshine. First things are the strips that will extend the glued area. I think these are called stringers. Mr. Dierking suggests cutting slots every three quarters of an inch, half-way through the stringers, to allow them to follow the bend of the deck. Did this with a blunt tenon saw, and don't recommend it. Took ages.

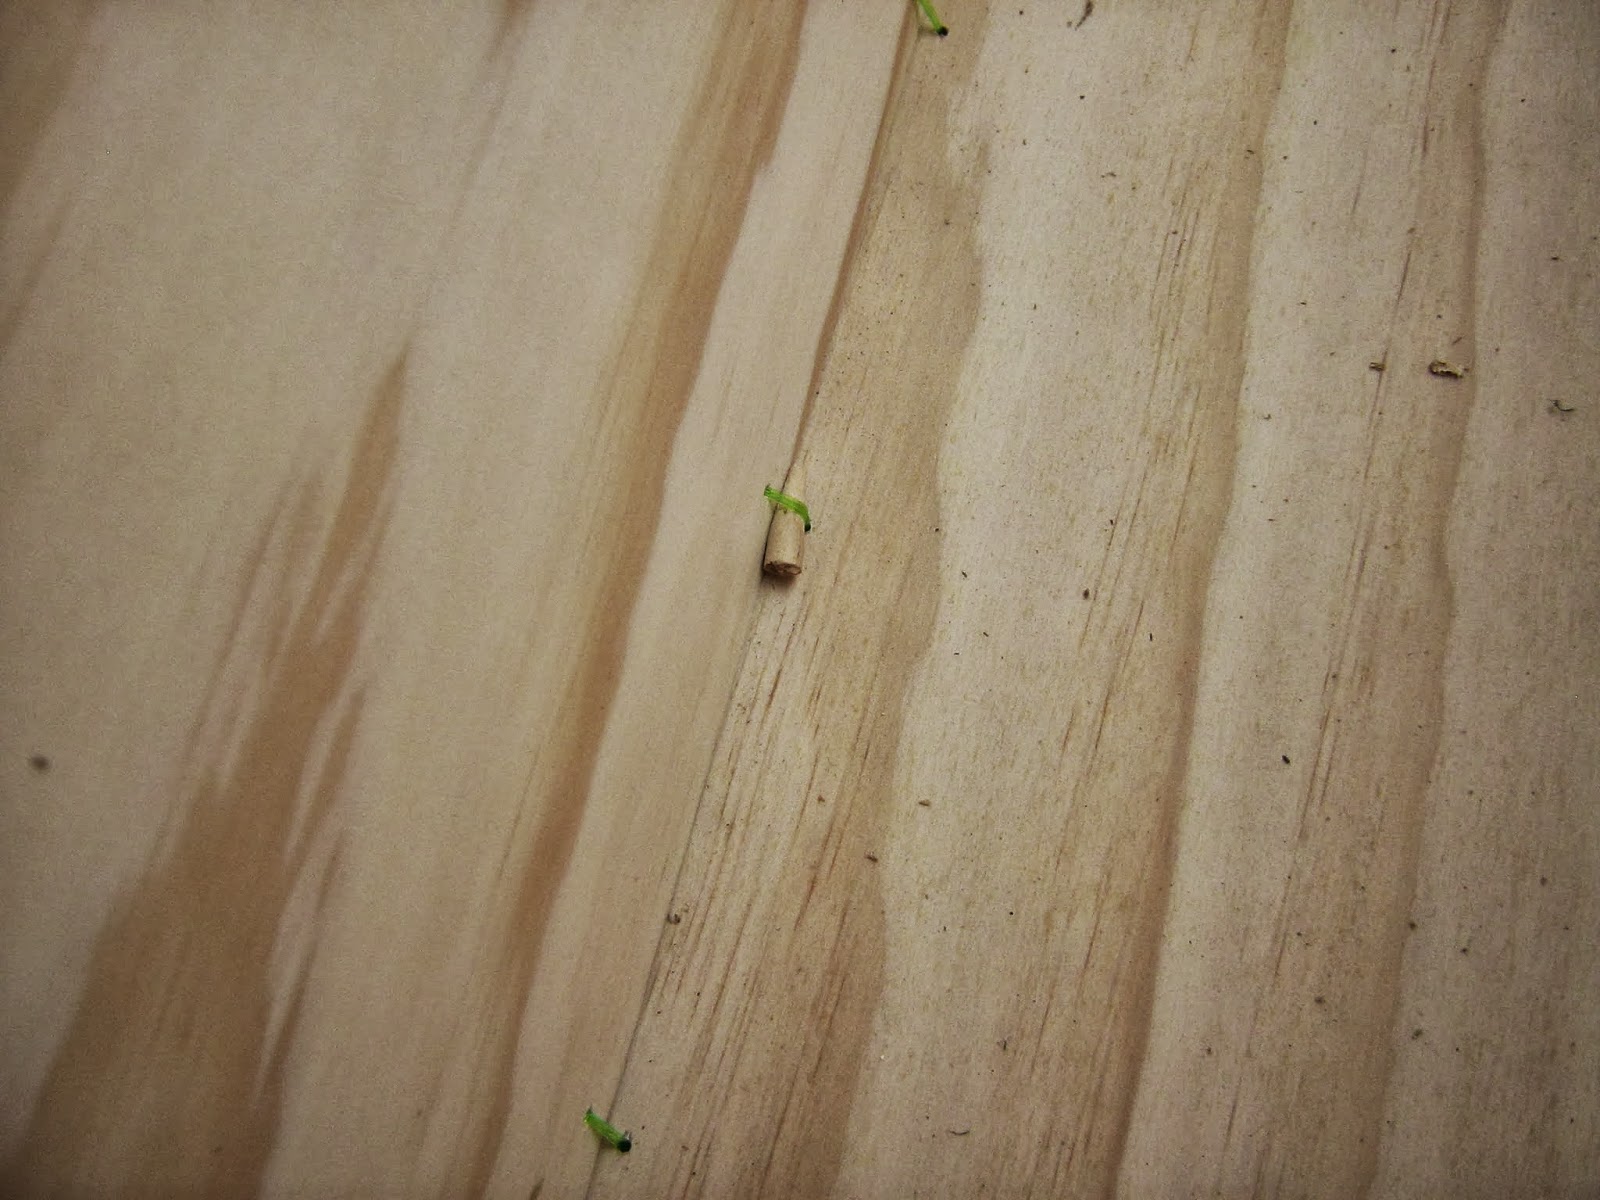
Then I went looking for copper nails and found none, nor any fine stainless steel screws, and I ended up with solid brass Phillips-headed woodscrews which were all that's available here. First lot of brass screws proved to be magnetic, and a file revealed a pathetic brass plating. They're only to hold things together while the glue sets, but thereafter they can remain and I don't want rust. Bronze would be better but asking for bronze screws provokes hollow laughter.
After thinking about the wood splitting I made a 2mm spade drill out of a galvanized bicycle spoke, and used it to drill pilot holes. Cheap spokes are high carbon steel and an underrated source of very small woodworking chisels. I even use them for carving or for scraping steel. Left dead-hard (heat to red and plunge in water) the edge is so small that you can sharpen them easily with a diamond file. What did we do before diamond files?
After gluing both surfaces, I started by screwing the pointy end with two screws before bending the stringer. It is a fiddly business and used up five pairs of rubber gloves, which I shall recycle now that I thought of turning them inside-out to let the epoxy harden. Even fiddlier was the attempt to fill all the slots with epoxy by shoving a knife-blade into each one, and I don't think this worked; I think there is only a smear of glue over the top and the slots are hollow, so I shall pretend this was a deliberate weight-saving plan. Tried using sawdust as a filler mixed with the epoxy, too. Not very successful: had to mix in some 'proper' filler with it, though the sawdust-plus-filler was very good at sealing the whacking great gap between the fronts of the stringers.
For the record, I'm using Epiglass HT9000 epoxy, and HT120 filler to mix the glue and HT450 filler to mix the filler, and Epiglass can now jolly well send me a voucher for this gratuitous advert because the stuff's Hugely Expensive. Resin and hardener are measured with two syringes that I keep, wet, in separate empty screw-top honey jars. Mixed with ice lolly sticks, in plastic Thai takeaway dishes. Drips on the floor cleaned up with acetone on tissue, after learning that acetone does clean epoxy.
And here is a 1935 film of making a steam engine. Not even mildly relevant, but it gave me 17 minutes of unalloyed pleasure.

The boys at the timber yard, all of whom enter into any boatbuilding project with unfeigned enthusiasm, had pointed me at some test sheets, randomly selected during a production run, which have a foot cut off two edges to check that the inner laminates are all sound. There isn't much you can do with a seven-by-three sheet so they sell them off for $26, always to boat-building amateurs because everyone else is spending someone else's money and doesn't care what stuff costs.
I used a handsaw, since I've found I can't rely on circular saws and straightedges. And I plane afterwards to a sharp pencil line with a hand spokeshave, since it's more accurate than relying on an actual plane. Which I use with the confidence of knowing that ultimately the epoxy will fill any gaps, and further knowing that every joint will be reinforced with glass fibre, and yet further knowing that out at sea I care more about strength than appearance. I cut four bulkheads; two are for the middle of the boat and will meet and be bolted together to turn it into a long canoe. The two that seal the end decks stand proud of the putative deck and are to have short, stout solid hardwood beams attached to them. To these short beams I propose to attach the outrigger arms. I'm not yet sure how to make the attachment: over in Stephens Bay sits a waka, or outrigger canoe, for four people and I think it's the one I sometimes see a young family paddling of a Sunday morning. Here the arms are attached by nothing more than luggage straps. However a waka paddled on still water with two small children aboard isn't going to be subject to the stresses of a large sail in a lively sea.
In the last few days we had some warmer weather so I started gluing the deck together. I delayed while it was cold and rainy: I want my epoxy to go onto a dry surface, and I want it to harden in the sunshine. First things are the strips that will extend the glued area. I think these are called stringers. Mr. Dierking suggests cutting slots every three quarters of an inch, half-way through the stringers, to allow them to follow the bend of the deck. Did this with a blunt tenon saw, and don't recommend it. Took ages.

Then I went looking for copper nails and found none, nor any fine stainless steel screws, and I ended up with solid brass Phillips-headed woodscrews which were all that's available here. First lot of brass screws proved to be magnetic, and a file revealed a pathetic brass plating. They're only to hold things together while the glue sets, but thereafter they can remain and I don't want rust. Bronze would be better but asking for bronze screws provokes hollow laughter.
After thinking about the wood splitting I made a 2mm spade drill out of a galvanized bicycle spoke, and used it to drill pilot holes. Cheap spokes are high carbon steel and an underrated source of very small woodworking chisels. I even use them for carving or for scraping steel. Left dead-hard (heat to red and plunge in water) the edge is so small that you can sharpen them easily with a diamond file. What did we do before diamond files?
After gluing both surfaces, I started by screwing the pointy end with two screws before bending the stringer. It is a fiddly business and used up five pairs of rubber gloves, which I shall recycle now that I thought of turning them inside-out to let the epoxy harden. Even fiddlier was the attempt to fill all the slots with epoxy by shoving a knife-blade into each one, and I don't think this worked; I think there is only a smear of glue over the top and the slots are hollow, so I shall pretend this was a deliberate weight-saving plan. Tried using sawdust as a filler mixed with the epoxy, too. Not very successful: had to mix in some 'proper' filler with it, though the sawdust-plus-filler was very good at sealing the whacking great gap between the fronts of the stringers.
For the record, I'm using Epiglass HT9000 epoxy, and HT120 filler to mix the glue and HT450 filler to mix the filler, and Epiglass can now jolly well send me a voucher for this gratuitous advert because the stuff's Hugely Expensive. Resin and hardener are measured with two syringes that I keep, wet, in separate empty screw-top honey jars. Mixed with ice lolly sticks, in plastic Thai takeaway dishes. Drips on the floor cleaned up with acetone on tissue, after learning that acetone does clean epoxy.
And here is a 1935 film of making a steam engine. Not even mildly relevant, but it gave me 17 minutes of unalloyed pleasure.
Labels: accurate sawing, Bulkhead, Epoxy, home-made drill, steam engine building
posted by richard middleton at
12:54 PM
0 Comments