Long wheelbase bike finished
I finished something. Nearly. Amazing but true.
Here's the bit I hate. The endless moving of brake levers and gear changers on the handlebar until
a) my hands drop comfortably onto them, and
b) the cables point in roughly the right direction, Bowden cables hating to go round sharp corners, and
c) the gear changer doesn't get in the way of the brake lever movement, and
d) they don't snag the seat when the bar turns, and
e) they don't snag my thighs when the pedals turn.
 Cantilever brake lever for front, and sidepull lever for back brake. You straighten the sidepull lever by disassembling, placing lever in vice with steel spacer to stop crushing, and applying blowtorch while simultaneously applying light straightening-pressure with a steel tube. All of a sudden the aluminium softens, and the lever straightens. If pressure isn't maintained you can't tell when the plastic temperature is reached, and the whole thing overheats and crumbles and melts.
Note wooden tube plugs. Apfelholz, bien sûr.
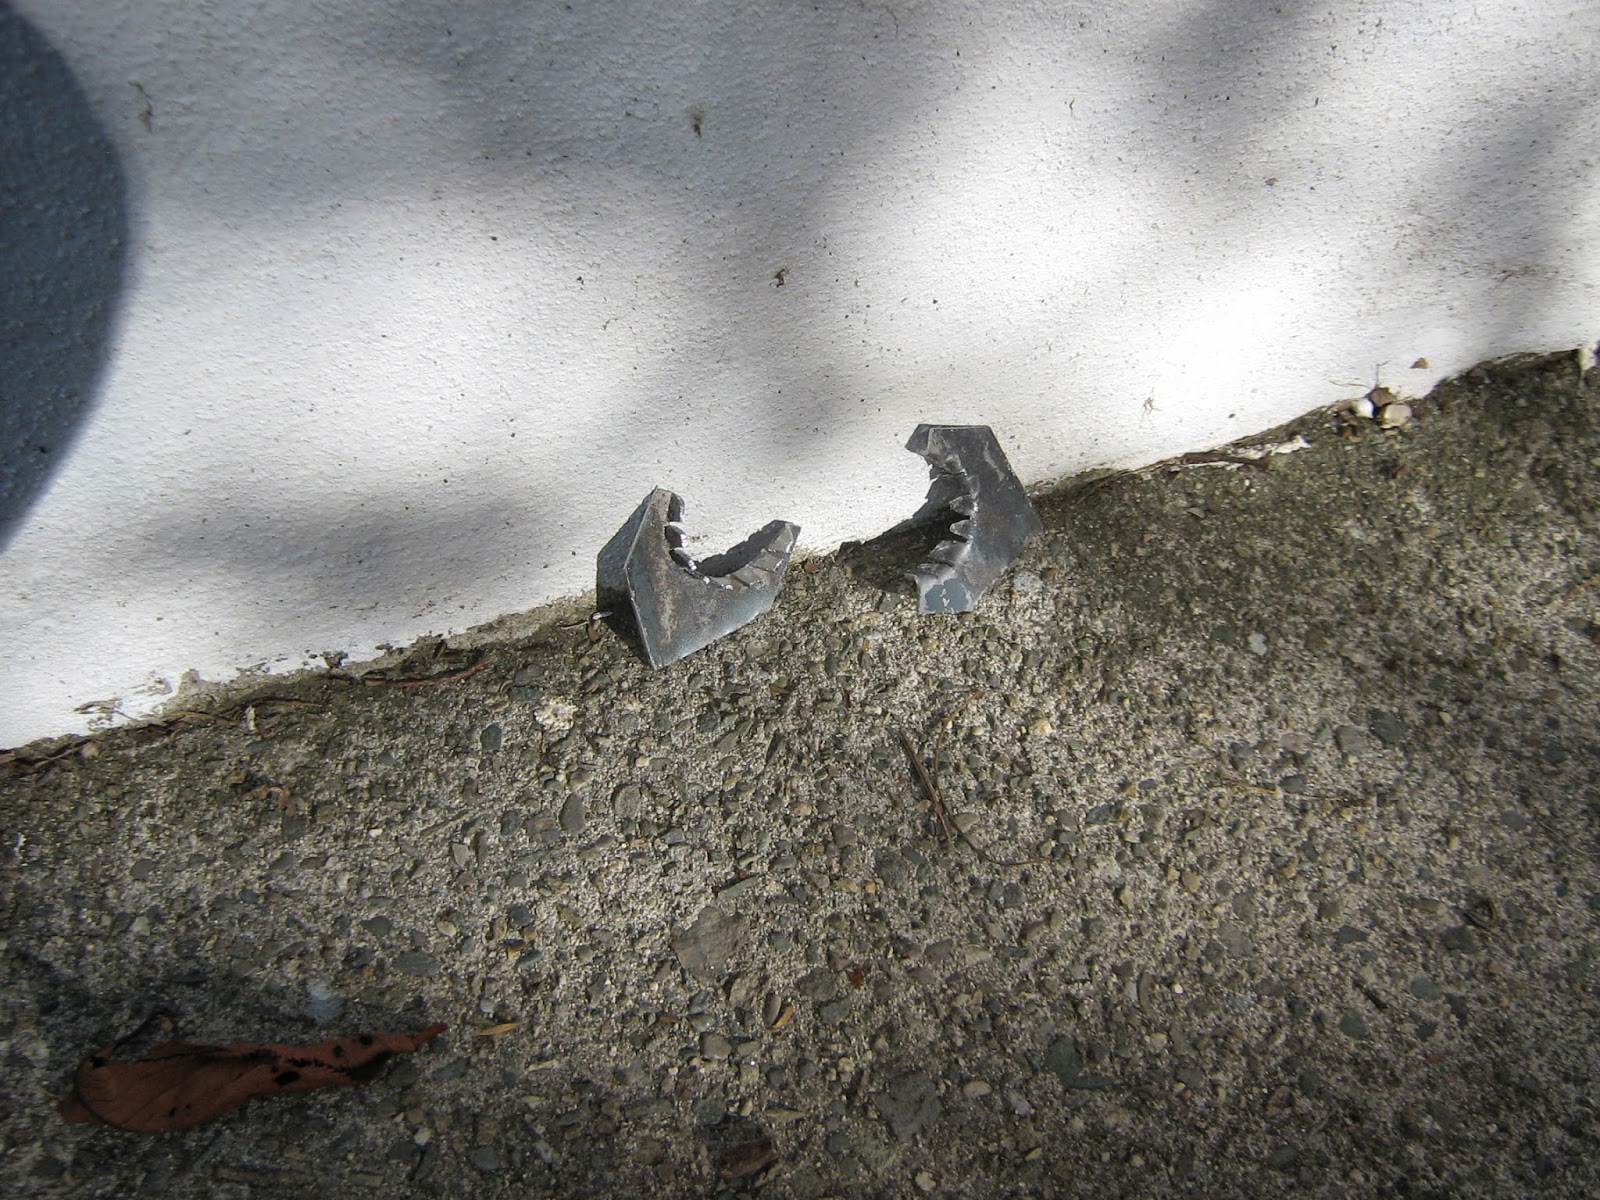
Here's the bit I hate too. Selecting cables. The main object of this exercise, it will be recalled, is not so much to build a recumbent but rather to use up old bits from the Bike Heap. This includes cables and cable housing. Foolish, admittedly, but one must stick to one's intentions. Most of the Bike Heap cable housings are kinked and rusty inside and nobody but an idiot would think of re-using them but fortunately I am that idiot. Fortunatelier I once invented a sneaky trick which is to use short bits of good housing and join them end-to-end with empty .22 rifle cartridges. Swords and ploughshares.

The trick involves a blowtorch, some zinc chloride, and a dab of soft solder. You stand a cartridge on end and put a drop of ZnCl onto the flat bit without even bothering to polish it, add warmth and a touch of solder and it's instantly covered in silver. Then you add ZnCl to the same place on a second .22 cartridge, invert it onto the silvered one, add more warmth and you have a back-to-back tube with a soldered separator disc in the middle. This you pop into the 3-jaw, drill a 2.5mm hole through the separator, and now two short cable housings can become one long cable housing. I mostly like to do this because it helps obviate the worry of what to do with jamjars of empty .22 cartridges, which problem only manifests itself because I can't bear to see empty brass strewn all over the rifle range, which it is, which I happen to know, which makes rifle ranges so irresistibly attractive. One day the brass will all be gathered up assiduously by my children's children's children and melted in a home-made brazing hearth to re-assemble all the bicycles I've ever sawn up, I expect. But for the moment all they get used for is cable-housing-joiners.
Anyway, here's the machine assembled and I haven't snipped off the cable ties because the other bit I hate - painting - requires their removal. You have to fiddle about with a flattened spoke to wedge between the zip-tie's rack and the jammy-inny-bit and then you can undo them. Have a look at one and you'll see what I mean.

You may compare and contrast with the original drawing which I most kindly posted here because I am good and generous and conceited enough to think someone might be int'rested.

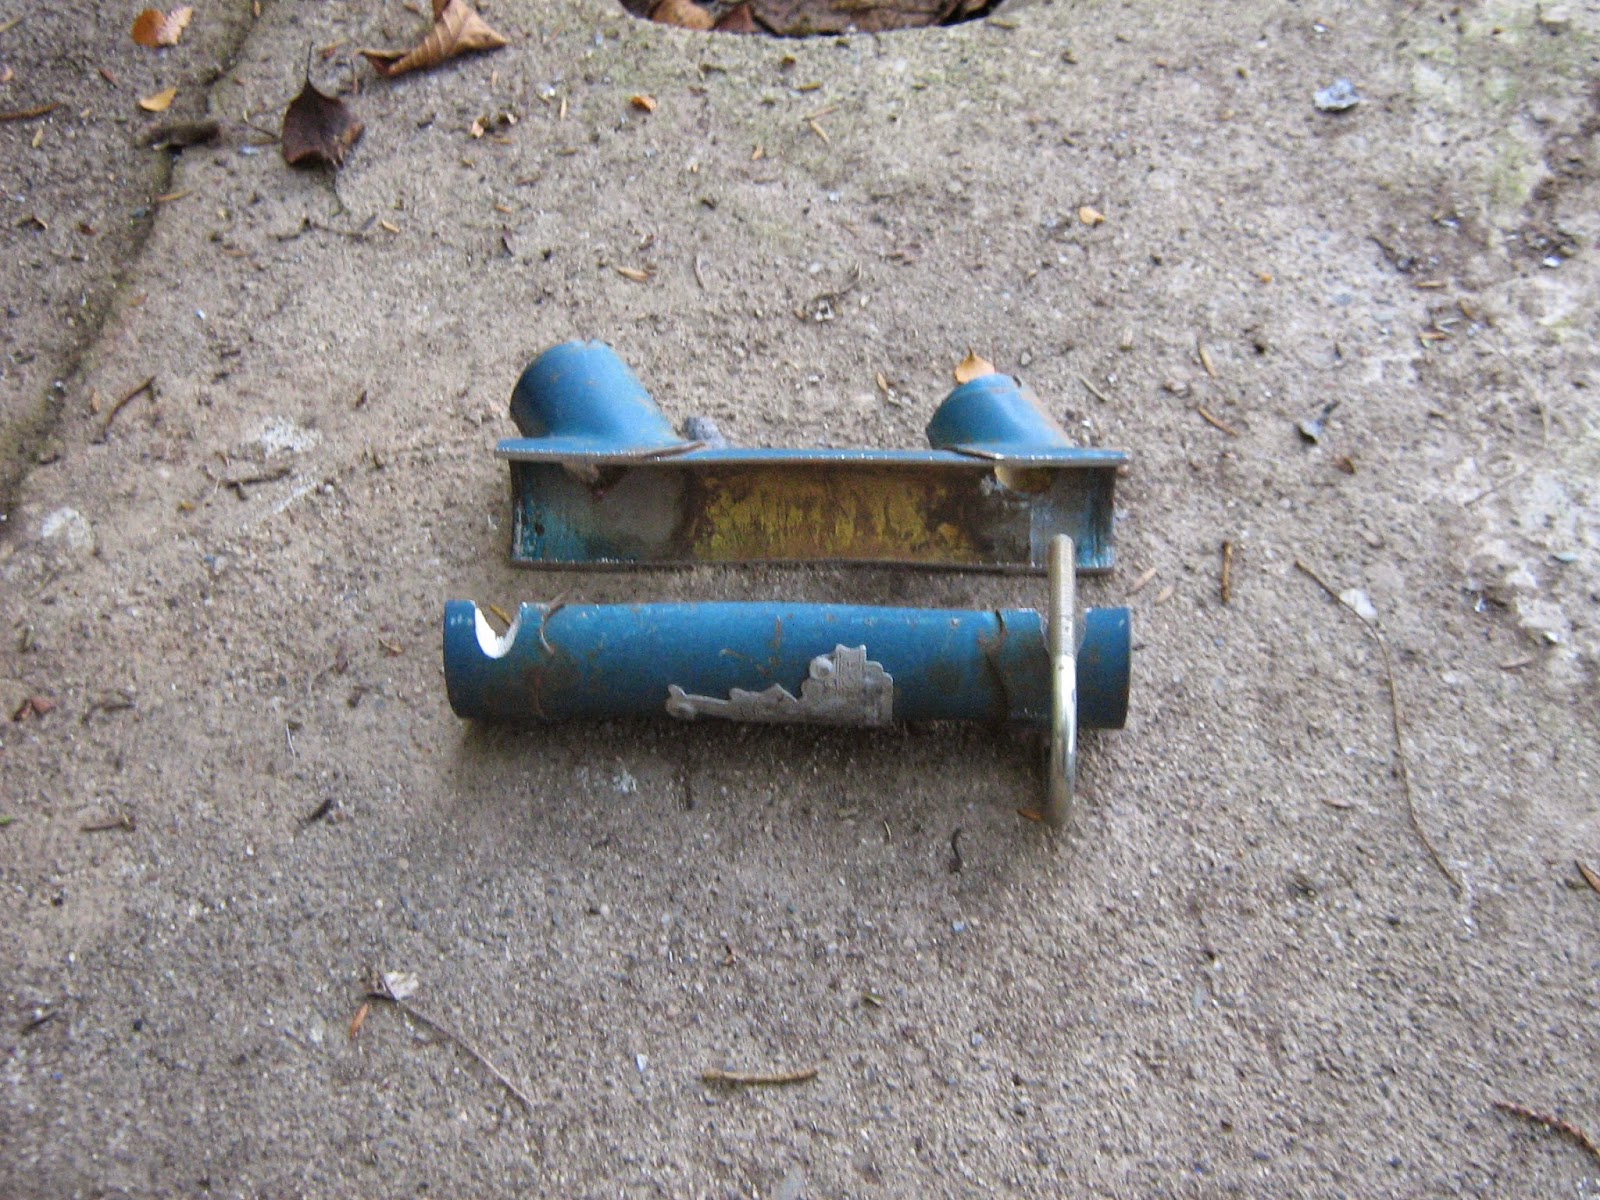
Of course as soon as it was assembled I had to ride it, but before doing so I judged it wise to weld a short tube behind the front fork to stop the wheel turning right round, which it was apt to do on account of being geared up to double the movement of the handlebar, which gearing turned out to be zackly what I hoped. And indeed the machine rode zackly as predicted. Which means either I now know how to design recumbents or I'm very lucky. (Clue: lucky.)
The end of the steering stop tube is reinforced inside it with a washer welded in place. An open tube end is too readily dented by the fork swinging round and giving it a hearty bash. I was going to use a wooden plug like those hammered into the ends of the seat tubes so they don't apple-core me in the event of a crash, but a washer is lighter. The washer didn't fit until I beat all round the edge of it with a hammer, and then it fitted a bit too tightly and I had to use the hammer to whack it into the tube. These are delicate manufacturing details I shan't publicly reveal lest you discover that my engineering is of the bodge-it-and-weld variety.

And here's the cockpit view, showing the usefulness of wide BB axles and those bent cranks that increase the Q factor and allow the steering rod to gear up the front fork without snagging the pedals.
How does it ride? Pleasantly languorous handling, like all long wheelbases. The seat angle is such that 20 miles doesn't give lumbar ache with a straight seat back, nor neck ache without any shoulder or neck support. Comfortable on ye bumme, so the 700c x 42 back tyre really does compensate for no suspension. 32 lbs (compared with 44lbs for the Duplo Bike) so ditching the suspension does indeed save weight, and a lighter machine makes for lazy riding at low speed. Not especially fast so it's true that the BB has to be 5 or 6 inches higher than the sitzhöhe if you want speed; it's true that light weight doesn't compensate for a bigger frontal area.
But come summer the kids on the bridge will shout "Cool bike mister" because kids on bridges always like LWB recumbents.
Here's the bit I hate. The endless moving of brake levers and gear changers on the handlebar until
a) my hands drop comfortably onto them, and
b) the cables point in roughly the right direction, Bowden cables hating to go round sharp corners, and
c) the gear changer doesn't get in the way of the brake lever movement, and
d) they don't snag the seat when the bar turns, and
e) they don't snag my thighs when the pedals turn.
Note wooden tube plugs. Apfelholz, bien sûr.
Here's the bit I hate too. Selecting cables. The main object of this exercise, it will be recalled, is not so much to build a recumbent but rather to use up old bits from the Bike Heap. This includes cables and cable housing. Foolish, admittedly, but one must stick to one's intentions. Most of the Bike Heap cable housings are kinked and rusty inside and nobody but an idiot would think of re-using them but fortunately I am that idiot. Fortunatelier I once invented a sneaky trick which is to use short bits of good housing and join them end-to-end with empty .22 rifle cartridges. Swords and ploughshares.
The trick involves a blowtorch, some zinc chloride, and a dab of soft solder. You stand a cartridge on end and put a drop of ZnCl onto the flat bit without even bothering to polish it, add warmth and a touch of solder and it's instantly covered in silver. Then you add ZnCl to the same place on a second .22 cartridge, invert it onto the silvered one, add more warmth and you have a back-to-back tube with a soldered separator disc in the middle. This you pop into the 3-jaw, drill a 2.5mm hole through the separator, and now two short cable housings can become one long cable housing. I mostly like to do this because it helps obviate the worry of what to do with jamjars of empty .22 cartridges, which problem only manifests itself because I can't bear to see empty brass strewn all over the rifle range, which it is, which I happen to know, which makes rifle ranges so irresistibly attractive. One day the brass will all be gathered up assiduously by my children's children's children and melted in a home-made brazing hearth to re-assemble all the bicycles I've ever sawn up, I expect. But for the moment all they get used for is cable-housing-joiners.
Anyway, here's the machine assembled and I haven't snipped off the cable ties because the other bit I hate - painting - requires their removal. You have to fiddle about with a flattened spoke to wedge between the zip-tie's rack and the jammy-inny-bit and then you can undo them. Have a look at one and you'll see what I mean.
You may compare and contrast with the original drawing which I most kindly posted here because I am good and generous and conceited enough to think someone might be int'rested.
Of course as soon as it was assembled I had to ride it, but before doing so I judged it wise to weld a short tube behind the front fork to stop the wheel turning right round, which it was apt to do on account of being geared up to double the movement of the handlebar, which gearing turned out to be zackly what I hoped. And indeed the machine rode zackly as predicted. Which means either I now know how to design recumbents or I'm very lucky. (Clue: lucky.)
The end of the steering stop tube is reinforced inside it with a washer welded in place. An open tube end is too readily dented by the fork swinging round and giving it a hearty bash. I was going to use a wooden plug like those hammered into the ends of the seat tubes so they don't apple-core me in the event of a crash, but a washer is lighter. The washer didn't fit until I beat all round the edge of it with a hammer, and then it fitted a bit too tightly and I had to use the hammer to whack it into the tube. These are delicate manufacturing details I shan't publicly reveal lest you discover that my engineering is of the bodge-it-and-weld variety.
And here's the cockpit view, showing the usefulness of wide BB axles and those bent cranks that increase the Q factor and allow the steering rod to gear up the front fork without snagging the pedals.
How does it ride? Pleasantly languorous handling, like all long wheelbases. The seat angle is such that 20 miles doesn't give lumbar ache with a straight seat back, nor neck ache without any shoulder or neck support. Comfortable on ye bumme, so the 700c x 42 back tyre really does compensate for no suspension. 32 lbs (compared with 44lbs for the Duplo Bike) so ditching the suspension does indeed save weight, and a lighter machine makes for lazy riding at low speed. Not especially fast so it's true that the BB has to be 5 or 6 inches higher than the sitzhöhe if you want speed; it's true that light weight doesn't compensate for a bigger frontal area.
But come summer the kids on the bridge will shout "Cool bike mister" because kids on bridges always like LWB recumbents.
Labels: Long wheelbase recumbent, Making cable housing longer, straightening an alloy brake lever, tube plugs
posted by richard middleton at
11:54 AM
1 Comments